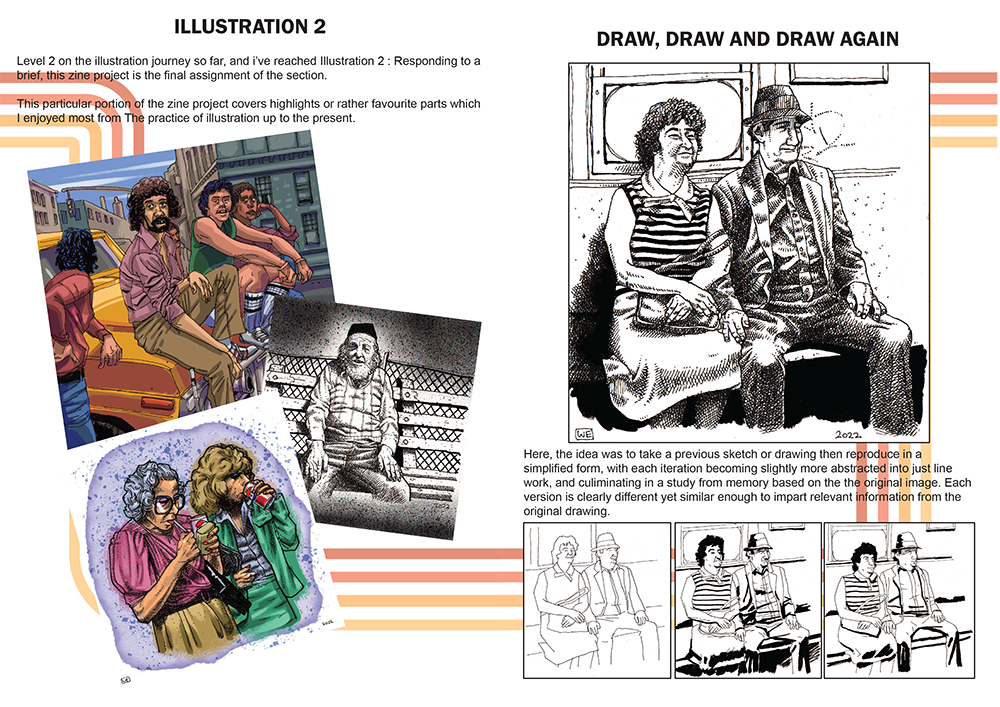
With this assignment, I chose to go down a retrospective reflection path regarding the point I’ve reached so far on this illustration degree pathway.
I really enjoyed the zine exercise earlier in this part of the course so I decided to do a collective publication based on the aspects of the course I’ve enjoyed the most.
Using Adobe InDesign, I created a layout which would allow me to print out the pages spreads directly onto A4 with the correct page order, so I could simply print the odd pages from a pdf, then turn over the resulting pages then set to print the even pages. I discovered this the hard way in the self publishing exercise, as there’s a general assumption that many printers will work from the in print booklet utility (mine doesn’t – neither will it print borderless, annoyingly).
After creating the page spreads and setting up margins and spacing guides, I went into Adobe illustrator and created a front and back cover.
As I don’t have the luxury of borderless printing on my particular model, I opted for a white background here. I added extra space padding compared to this image here, so there was an equal amount of apce top and bottom (this has happened as the image is a straight export from an illustrator artboard). I thought it might be nice to be able to colour code any preceding zines to the collection and the lines across the cover match each one.
After cropping the front and back into A5 images, I dropped these into InDesign on the master page so they would be repeated automatically on each double page spread as a background. The inner page background versions were half the opacity too, so as not to detract from anything above.
Getting the spreads to print properly is an exercise in insane futility sometimes, InDesign’s booklet utility is good for previewing how your Zine will look when it’s printed with the correct imposition, and it’s WYSIWYG (What you See Is What You Get) visually, but getting the orientation to behave itself is a nightmare when the final thing is printed. To that end, it’s actually simpler to print the final product out to a PDF, then print from that as you can choose odd and even pages, necessary if like me you don’t have a duplex printer which does both sides at once.
The nice thing about InDesign is that you produce your layout sequentially as you’d expect to and the imposition takes care of the page ordering depending on what method you use to bind the final product, in my case a 2-up saddle stitch (or basically two staples in the spine for a zine).
The final PDF version can be viewed here. YouAreHere_level2_Online
I actually started creating each module of the course which I’ve done so far as it’s own zine in the series, so I went all in and created one for level 1 : Key steps too.. this one is quite a bit larger. YouAreHere_level1
Conclusion
Overall I was quite disappointed that I couldn’t invest the time in something more imaginative for this assignment, I feel like I’ve taken the absolute simplest route here but I’m up against it with the time constraints right now.
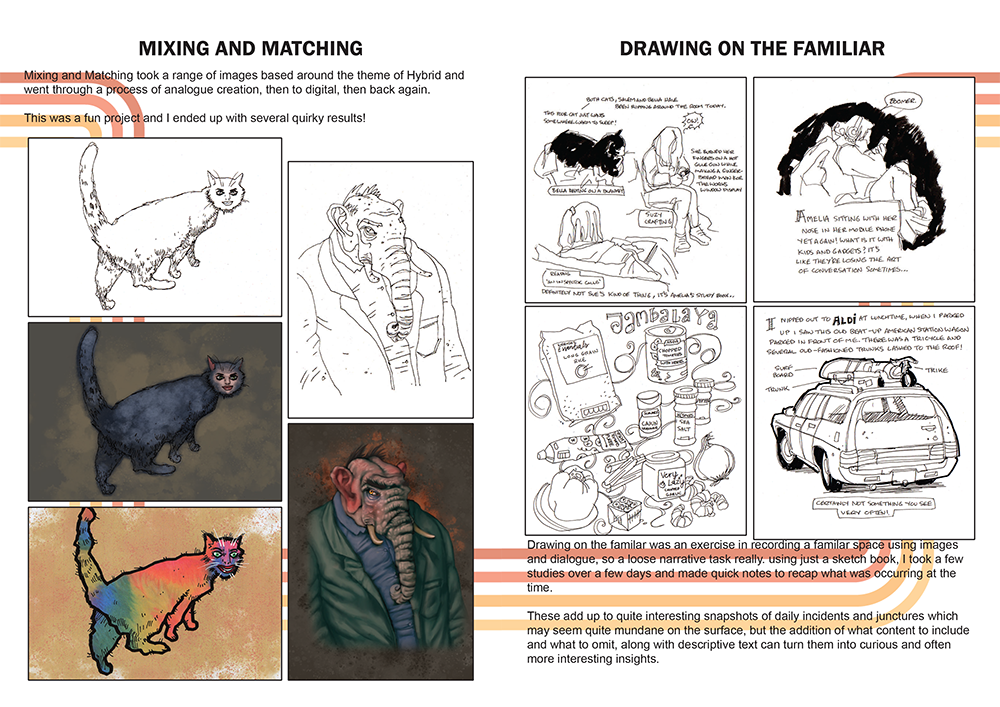
On the plus side, it was nice to retrospectively look back through the work I’ve created so far and see how far I’ve come, I ended up with a decent body of work from key Steps and it was all great practice. The Printmaking module was great, I really enjoyed the tactile practice of creating prints there and sketchbooks was an enjoyable and challenging module. I’ve yet to create a continuation of those additions through this zine series though, but it will be nice to revisit the layouts here after I’ve had more practice with graphic design. This is something I’m looking at alongside the course through online tutorials with Udemy.
I’m certainly inspired on the whole zine thing though, and I’m collating a series of comic shorts ideas to create strips from with a view to getting a Zine out and into travelling man, just to gauge the interest if nothing else!
